Monday, April 22, 2013

Progeny Press Treasure Island Study Guide Review

 photo 26018_10150154187290243_4120345_n_zpsd9393f12.jpg

 photo a64739513876c78eaae8f5_m_zpsc345c325.jpgExposing my children to quality literature is something that is very important to me as a homeschool Mom. Unfortunately the demands of my family and home do not always allow me to pre-read the books and create study guides before my children need to read their books. That is why I was so excited for the opportunity to review the Treasure Island study guide from Progeny Press as a part of The Homeschool Review Crew.

My 11 year old son, who loves to read, was very excited to see that we had received the Treasure Island study guide for review. Even though he has read the book previously, he was looking forward to studying it more in depth than just reading.

After a trip to the library because we couldn't locate our own copy of Treasure Island my son dove right in to the study guide. As recommended in the study guide my son read the novel in it's entirety first then we began the study guide. Also as recommended I had him complete one page of the chapter sections each day. During this four week review period he was able to complete about half of the study guide. Still ahead is the overview section which I plan to use as a test and he will also complete the essay section to further reinforce not only his understanding of the book but also to help with his writing. Something about tying two subjects together in one (reading comprehension and writing in this case) makes my homeschool Momma's heart happy.

This particular study guide was broken up into 6 parts with three to six chapters per part. Each part of the study guide includes vocabulary questions, fill in the blank answer sections, critical thinking about the chapter, and dig deeper questions. The tech nerd in me loves that the pdf version of this study guide allows for fill in the blank, no more printing of paper and he can read the pdf of my iPad. Love it! The questions in each part of the study guide were challenging and thought provoking, definitely more in depth and complete than anything I could have ever created myself. They asked questions I would have never thought of and I learned quite a lot considering their questions in relation to the story. Progeny Press recommends that for best use of their study guides you also provide your student with a dictionary, thesaurus, a Bible, and a Bible concordance.

Well written and thorough study guides are very hard to come by, trust me I've searched high and low for a variety of study guides. Progeny Press is definitely a company you should consider when in the market for study guides.

I am so thankful we had the opportunity to review this product, we will definitely be purchasing additional study guides to use in our homeschool.

Product Details:
Printed Booklet: $18.99
CD $16.99
PDF $16.99


Photobucket


post signature

Thursday, April 18, 2013

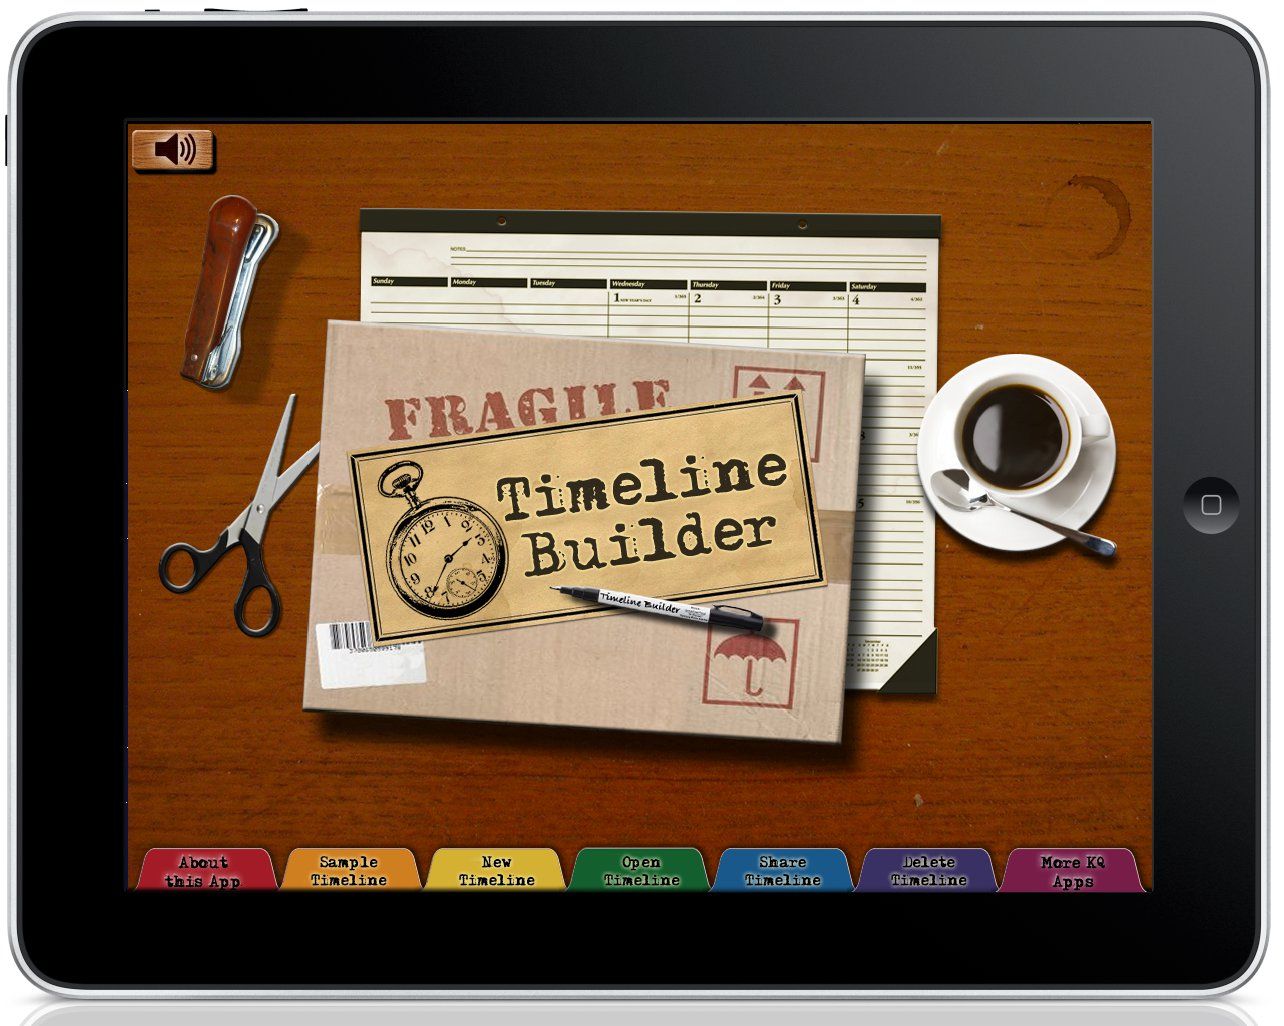
Knowledge Quest Timeline Builder iPad app: TOS Review

 photo 61867_10151551915578243_1408297526_n_zpsc18fa83b.png

I am going to come clean with a homeschool secret that I've never shared before, I do not do timelines for our history studies. There I said it, I hope you don't think any less of me. (insert smile) With everything else going on in our family and homeschool studies timelines were something I had wanted to do but had to put on the back burner for more pressing lesson plans. Then along came a review opportunity from Knowledge Quest for their Timeline Builder iPad App and everything changed.

This app has made creating timelines and enriching our history lessons incredibly easy, I no longer have an excuse for not using timelines in our history lessons.

 photo TLB-main-ipad_zps51fedaaf.jpg


What does Timeline Builder do?
  1. Allows you to create a digital timeline as far back or as far forward as you like.
  2. Enter as many timeline events or people on your timeline as you want.
  3. Upoload images from your computer or the web and link them to your timeline entries.
  4. Flexibility to move timeline events on the timeline.
  5. Save and share timelines as an image to your photos. You can also choose to email your timelines as well as export and share with other Timeline Builder users.

How we used the Timeline Builder iPad App:

Can I just start out by saying I am absolutely loving all of the wonderful educational applications and ability to read teachers manuals from my iPad? Well, there I just did. The Timeline Builder app is no different, it has made teaching, interacting with, and learning form history amazing. My children have not mastered the art of filing papers in their school binders so that they can find them later so anything I can put into electronics makes all of our lives easier. I have tried creating timelines before, I had great intentions I really did, but lost papers, torn papers, or even chewed on papers made my previous attempts very frustrating.

My children and I have been studying early American history this semester so for the course of this review I jumped into our studies and started a timeline where we were currently studying, the slave trade. After quickly and easily acquainting myself with the app interface I introduced the timeline builder to my children, namely my older boys ages 11 and 8. My younger daughter, age 6, soon caught on that we were having fun with history and joined our lesson. After reading our history lesson for the day my boys each created their own timeline based on what they remembered from the story. Then after discussing events that they did not include on their timeline they each went back and added events, people, and places including pictures to bring the timeline to life. As a homeschool teacher I could see their wheels of learning firing on all cylinders. They were engaged in the lesson and absorbing the events rather than just skimming the surface as they read and forgetting it all as soon as the book closed. Surprisingly, even long after the history lesson was complete my boys were still talking about the facts they learned and having a healthy discussion on what they had learned. What's not to love about that? The Timeline Builder App brought history to life for my family in a way that paper timelines and other hands on activities could not do.

Product Specifics:
Watch this video to learn more


Timeline Builder iPad app available in the AppStore for $6.99


Photobucket


post signature

Thursday, April 11, 2013

4 Tips for Eating Real Food While Traveling


This weekend I am traveling. I have been blessed with the opportunity to attend the 2:1 conference as part of my work with A Moment With Mom. This is the first time being away from my family for an extended period of time. Since their birth I have not been away from the twins for more than 36 hours at a time as I travelled back and forth between the NICU and home. My youngest son has never been away from his momma. Your prayers are greatly appreciated this weekend.

Traveling an sticking to a real food lifestyle has been challenging and eye opening. God has been good in sustaining me through the times when real food and drink were of available. I've gleaned a few tips during this trip that will hopefully make your next flight more enjoyable and save you the pain of dehydration or hunger.

1. Pack your own snacks. Fortunately current flight regulations do not prohibit you from taking your own food aboard your flight. Plan ahead and carefully consider snacks that will travel well and not easily perish. After a flight cancellation and an unexpected 3 hour drive to make a connecting flight I am thankful I grab a large bag of homemade trail mix a few minutes before heading out the door. Raw pumpkin seeds, raw almonds, raw cashews, and organic "Cherrios" helped to stave off hunger and keep me awake on my long drive. 

2. Plan to drink only water. This is one area you will not be able to bring your own from home. As many of you already know juices and sodas are full of unwanted and unnecessary preservatives, chemicals, and colorings. A word of caution, read the water bottle labels before you purchase. Sadly even a simple bottle of water can have added sodium and other undesirables. Fresh spring water is your best bet and stay away from the water bottle brands that are made by corporations, these are typically the glorified water bottles, nothing more than dressed up tap water.

3. If you are staying at a hotel call ahead. Nowadays, hotel kitchens are more than happy to accommodate guests with special dietary needs. Eating real food, although counterintuitive is classified as a special dietary condition. Perhaps one day it will not be, but until then, call ahead. Be prepared to provide the kitchen staff with meal ideas, especially if it is a smaller hotel.

4. Eating out can be a real challenge when sticking to a real food lifestyle. Choose your restaurants carefully and considering asking locals or hotel staff for recommendations. After you choose a spot to eat and are ordering, don't be afraid to make your food needs known. Most often the chef and wait staff are more than happy t accommodate your needs, after all they are no different that someone with a food allergy. There are certain things we will and will not eat, just like others with special dietary needs.

With some forethought traveling and continuing to eat real food is not only possible it will also be enjoyable.

Do you have other tips and tricks for eating real while traveling? Please share, I'd love to hear your feedback

Saturday, April 6, 2013

D is for Dry Storage


Dry storage becomes an essential part of your pantry when you make the transition to real foods. Not only is it better to store dry goods in a quality sealed container to maintain the freshness of the product but many times when you switch to real foods buying in bulk is most economical. When you buy in large quantities you will need food grade dry storage containers to keep the nutritional value and freshness of your foods.

There are many options available for storing your bulk grains, homemade snacks, and other high quality real food items that are now stocked in your kitchen.

Dry Bulk Storage options:

2 gallon bucket: 2 gallon buckets are most commonly used for storing small quantities of food or water. I have a few buckets of this size which I bought containing peanut butter. I keep these buckets to store overflow of dry goods which might not fit in the 5 gallon bucket or my smaller pantry dry storage containers.

5 gallon bucket: A five-gallon bucket will hold approximately 37 lbs. of dry rice and 33.5 lbs. of dried beans. Additionally, this size bucket will hold approximately 25 lbs of flour depending on compaction of the grain.

When storing dry goods in plastic buckets your choice of lids is critical. If you do not purchase a tight fitting lid then you food will spoil quickly.


Traditional bucket lid: Most people who store dry goods do not use the traditional white lids that come with the plastic buckets by default. These lids are fine if you are storing an item that you use quickly or that will not perish quickly (a month or less).


Gamma lid: The gamma lids are the more popular and wiser choice when it comes to purchasing lids for your dry bulk storage. Gamma lids are constructed in two parts. There is an outer ring which snaps securely to the outside top portion of the bucket. There is then a part in the middle which twists on and off of the outer ring. This lid construction insures a tighter fit and better option for long-term dry bulk storage and food freshness.


The most affordable place that I've found to purchase buckets and gamma lids is from Azure Standard.

Pantry/Kitchen Dry Good Storage:
The most important part of choosing dry good storage options for your kitchen and pantry is the quality of the seal and the functionality of the container. If the container you choose does not for an air tight seal then the food that you worked so hard at acquiring will spoil and go to waste. Also, if the container is not easy to open, close, and provides free access to your food item then you will experience frustration in the kitchen. Cooking real food is fun and incredibly satisfying, please don't let a poor choice of kitchen storage container derail all of the hard work and effort you put in to creating your real food kitchen.

With that in mind and taking those 2 important points into consideration, my favorite kitchen and pantry dry good storage container is the OXO Good Grips Pop-Top Container (affiliate link). These tight sealing and very functional dry good storage containers come in all sizes which is perfect for a variety of kitchen and pantry uses. I use the small ones for storing spices and small quantities of items we use for oatmeal and steel cut cereal toppings. The larger containers store things such as cocoa powder, beans for short-term uses, oats, rice, the list is virtually endless with options. I like that these containers have a very tight seal but you can open them with a simple push of a button. The only downfall is that they are not easy on the wallet. However, I have skirted this problem by shopping around and acquiring them as we can afford. A large kitchen and bath chain frequently mails coupons for their store, I save those and use them to buy these OXO pop-top containers at a discount. This option is particularly useful when you need a particular size. Otherwise, I have found that the large box stores have a 12 piece set for a very reasonable price. Just this week I purchased my second set.


An additional point that I like about these OXO containers is that they are clear sided. Being able to quickly see what is in each container (I haven't had a chance to label them with my label maker) makes cooking quicker and easier.

Dry storage can be fun and strangely satisfying, if you are one that likes to be organized like myself (just don't look at my desktop).

What methods do you use for your bulk dry good storage?

Blogging Through the Alphabet 

Blessings,


post signature

LinkWithin

Related Posts with Thumbnails